Progress of the Tall Bike since build
Birth
Mark 1 was first built at the beginning of September 2018. I had been wanting to build a tall bike for over 6 months but didn't have a welder, or the correct tools and resources. So I planned everything about how I would build it.
During the beginning of August, I met a nice guy named Kiffer. He helped me out with some of my other inventions when I was early out starting (see 'Other Inventions' section). I told him about my plans for a tall bike, and over the course of 2 days, we managed to build my first tall bike. There were plenty of issues and a few too many bodge jobs, but to this day it's still my favourite model (and the tallest).
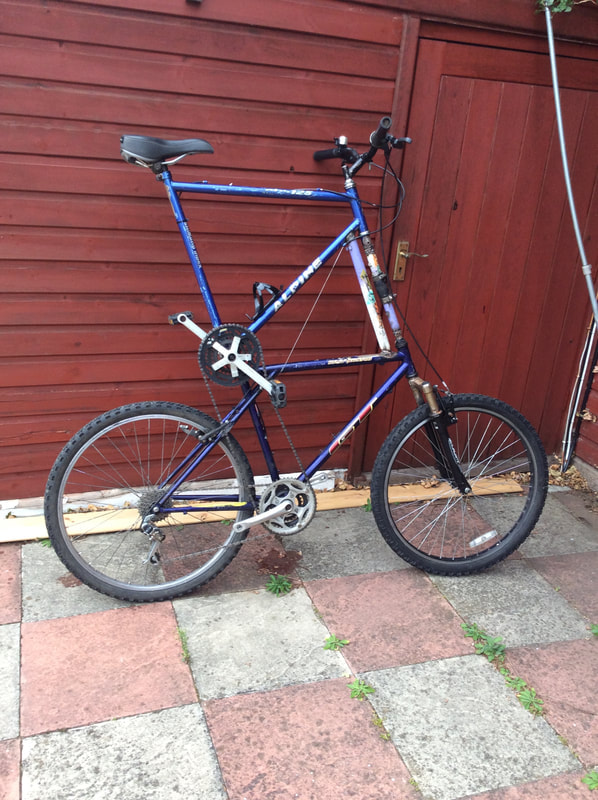
This was when it was first built. As you can see it's very ragged and plain, before all my improvements and upgrades:
During the beginning of August, I met a nice guy named Kiffer. He helped me out with some of my other inventions when I was early out starting (see 'Other Inventions' section). I told him about my plans for a tall bike, and over the course of 2 days, we managed to build my first tall bike. There were plenty of issues and a few too many bodge jobs, but to this day it's still my favourite model (and the tallest).
This was when it was first built. As you can see it's very ragged and plain, before all my improvements and upgrades:
November 2018 - January 2019
My next step was preparing it for Christmas, which was approaching fast. So I decided to litter the frame with as many LED multicoloured Christmas lights, bells and horns as I could find. By January the chain was rusting, the lights had stopped working, and the steering issue was getting worse. Click on the slideshow images to see them fully:
Commuter Tall Bike (March 2019)
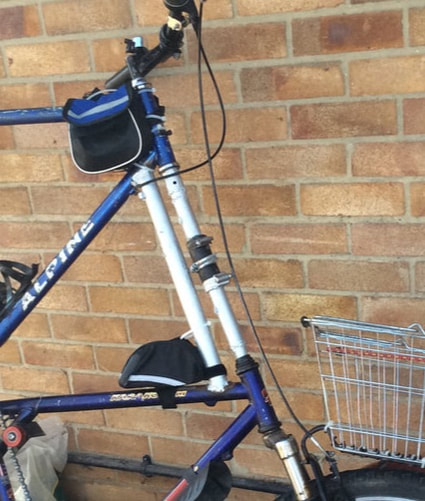
As you can see in the images below, I decided to get rid of the lights, and instead transform the Tall Bike into a long-distance commuter, optimised for road use and speed. I added on bottle holders, a front rack with a (borrowed) shopping basket for luggage, and various little strap-on bags around the frame. I also got annoyed at the ugliness of the central steer tube and support tube, so spray painted them silver as a temporary solution.
I biked all around my local villages, and later managed to get the Tall Bike to my nearest city to participate in events.
At this point the Tall Bike had 3 working gears, and no suspension (forks were rusted to the point of being rigid).
Use slideshow to see the 7 images below.
I biked all around my local villages, and later managed to get the Tall Bike to my nearest city to participate in events.
At this point the Tall Bike had 3 working gears, and no suspension (forks were rusted to the point of being rigid).
Use slideshow to see the 7 images below.
Makeover in preparation for town Carnival events
So I wanted to change things up a bit, and make the tall bike look and perform better. Major investments were required, especially for a 16 year old kid stuck at school with a part time job on minimum wage.
First off I stripped the Tall Bike down to the bare minimum (just chain and rear derailleur + shifter), and worked out what I was going to change. I needed to make it look creative and amazing in order to have a chance at winning the fancy dress bicycle competition.
First off I stripped the Tall Bike down to the bare minimum (just chain and rear derailleur + shifter), and worked out what I was going to change. I needed to make it look creative and amazing in order to have a chance at winning the fancy dress bicycle competition.
My plan after a few weeks of thinking and asking people for advice and opinions, was to strip the paint off the Tall Bike, and spray paint the entire bike a with a new custom paint job, as well as upgrading and replacing almost all of the interchangeable parts that I could afford to buy.
See the slideshow below, click images to view full.
See the slideshow below, click images to view full.
The sanding of the paint took about 2 weeks, spending about an hour or two most days after school. Right - that was complete, now to decide what colours and customisations I could apply. After a month of researching into other custom Tall Bike paint jobs, I finally settled with the decision of black and purple, with a few green parts. Onto the planning...
I used photoshop to create frame templates taken from one of my pictures, and tried out different shades and patterns. Next was to buy the paints, and get the frame primed.
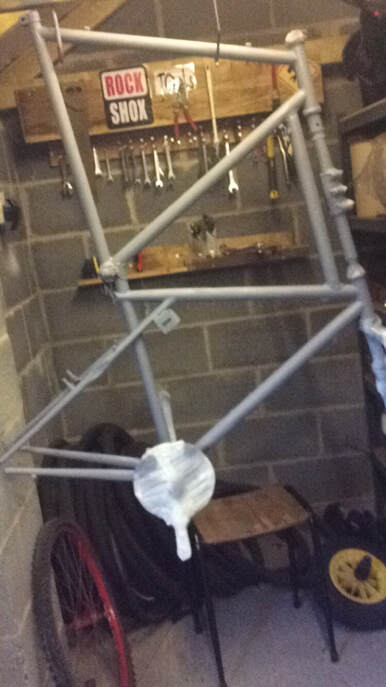
This was at the beginning of June 2019. I spent the month spraying layers upon layers of paint, and then lacquering and buffing it.
Below is a picture of the basic rebuild, after the painting was complete. In this light, you can see that I've randomly sprayed sections purple and black or purple for effect. Since all the extras (added later), you can't tell as much.

Resprayed & remodelled Tall Bike
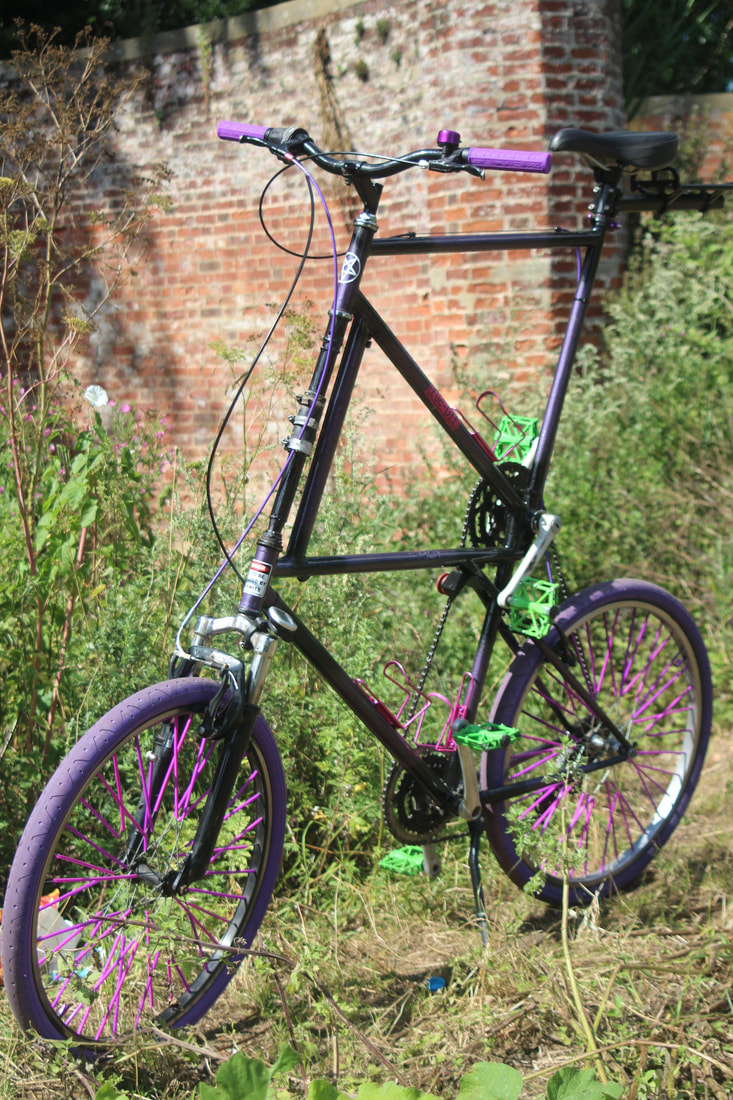
So after 3-4 months of work, the Tall Bike is finally back up and running, with a lot of improvements.
Since the remodel, I've been able to bike over 120 miles in only a week and a half.
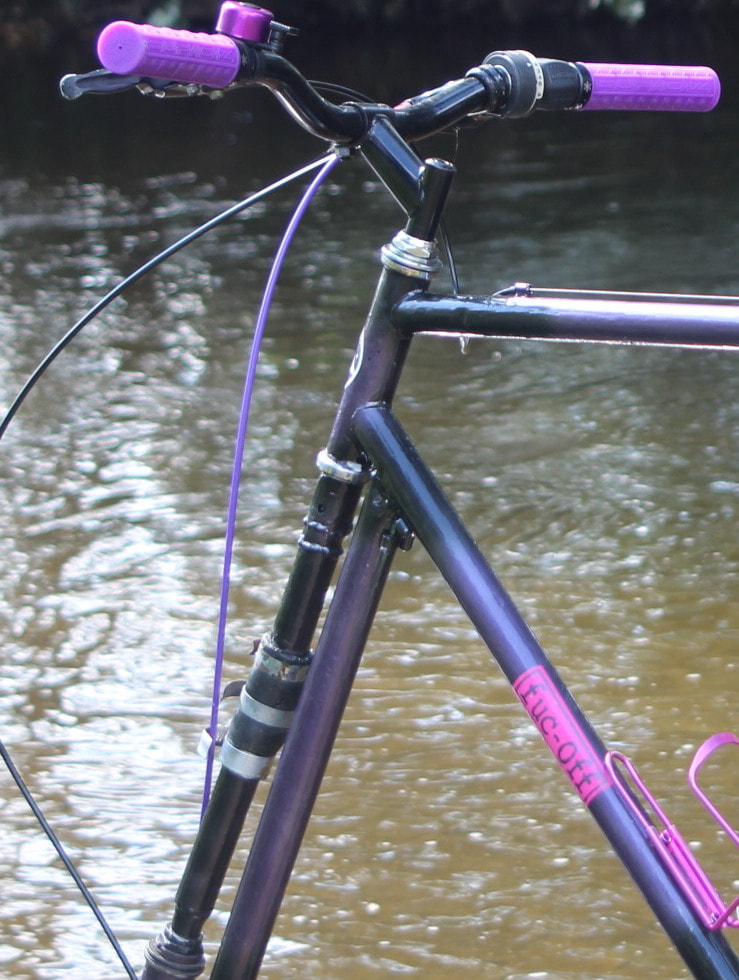
As you can probably guess, my favourite colour is purple. Anything that looks pinkish is just purple, okay? ;)
I've spent close to £450 on the respray and the custom parts, mostly cheaply sourced from eBay.
I even had time to add in a couple of offensive stickers! :)
The chain setup is the same as always, as is the steering issue. But I've replaced all the wires, cable housing, shifters, accessories and even the tyres. The colour coordination was supposed to be black, purple and green. It didn't go entirely to plan, but it's close enough I guess.
The slideshow below has a few pictures of the new parts on the bike, from my trip to my local river.
Since the remodel, I've been able to bike over 120 miles in only a week and a half.
As you can probably guess, my favourite colour is purple. Anything that looks pinkish is just purple, okay? ;)
I've spent close to £450 on the respray and the custom parts, mostly cheaply sourced from eBay.
I even had time to add in a couple of offensive stickers! :)
The chain setup is the same as always, as is the steering issue. But I've replaced all the wires, cable housing, shifters, accessories and even the tyres. The colour coordination was supposed to be black, purple and green. It didn't go entirely to plan, but it's close enough I guess.
The slideshow below has a few pictures of the new parts on the bike, from my trip to my local river.
Anatomy and mechanics of Mark I
Steering
The simplest method to join up the steering for a Tall Bike is to weld a straight steel tube between the centre of the forks from the top frame (fork arms cut off), onto the stem of the headset.
However, during my first Tall Bike design, something went wrong in my designs, and it ended up being built without being tested, until we finally realised that the steer tube wasn't straight. Whenever you tried to steer left or right, it would be extremely stiff... in fact, it was actually pulling the frames apart from each other sideways.
So this had to be resolved, but we didn't have the resources at the time to make a new steer tube.
Instead we cut a 6cm section from the centre of the steer tube and welded a universal joint bought for £5 off eBay. That's probably the only newly bought item on the entire bike.
It's a temporary fix, the idea was to let the tube move sideways for the issue to be resolved, whilst still turning with the tubes to steer the bike. Sadly this was a cheap eBay fix, and the joint soon developed a lot of play through wear and tear.
Now it has a 20-30 degree delay when steering, meaning it's very hard to steer straight, but it still works... it's just very wobbly. To make this issue a little better, we added on a steel reenforced rubber tube, secured by jubilee clips to help the issue. It did absolutely nothing. But I left it there as It looked better than the rusty joint.
Since the rebuild, nothing has changed in terms of structure. But at least the paint looks a bit better. :)
|
|
Gears and Chain Setup
Old chain setup
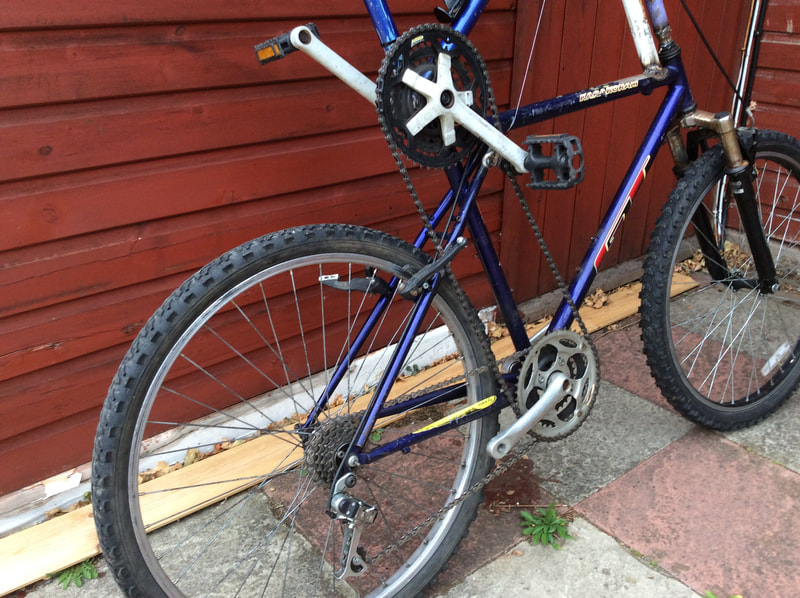
When the tall bike was being built, my original designs planned to have a single chain coming from the upper chainring straight down to the cassette, with the derailleur for tension, which is how many tall bikes are simplistically designed. However, the two frames that make up the bike were slightly different, in that the rear dropouts on the top frame originally met at the back of the seat-tube, whereas the bottom frame's dropouts come past the seat-tube and meet a little way in on the top tube.
This meant that a direct chain from the top chainring to the wheel would have these larger dropouts in the way, and the chain would be intercepted and not be able to function properly.
So after a few tries before realising that there was no way around this, I put the usual drivetrain on the second bottom chainring, and linked the larger chainrings of both sprockets with another custom single-speed chain.
This means that when the top cranks turn, it turns the bottom ones equally, turning the usual bicycle drivetrain at a slightly lesser ratio.
I also put in a small chain tensioner on the upper drivetrain to keep the tension, otherwise the chain would fall off every few minutes.
Sadly this also meant that I could not have an operational front derailleur, or switch to any high gears.
As for the rear derailleur, at first I thought it was okay, as I could presumably shift through all 7 of the rear gears. I soon learnt that shifting any further than 3rd gear would make the original drivetrain and the upper drivetrain rub, making loud sounds and often causing the chain to fall off, or in some cases to snap under pressure.
I now had two, or sometimes 3, functional gears. Not too bad for my first tall bike build. But I couldn't bike very fast, and my legs were always going at a lightning-fast speed just to keep a steady 10mph.
New chain setup
By March 2019, this low-ratio gear setup was beginning to annoy me, and I was replacing the upper chain about once a month, which was becoming unnecessarily expensive.
So I tried putting the upper drivetrain on the left-hand side of the bike, so that the right-hand side would function normally.
However the bottom cranks weren't having it; I needed to extract the left-hand bottom crank, to replace it with a sprocket, but its' aluminium thread system was old and damaged - It ruined my crank extractor, and stripped all its' threads off, making it impossible to remove the crank. I had to return everything back to normal for a few days.
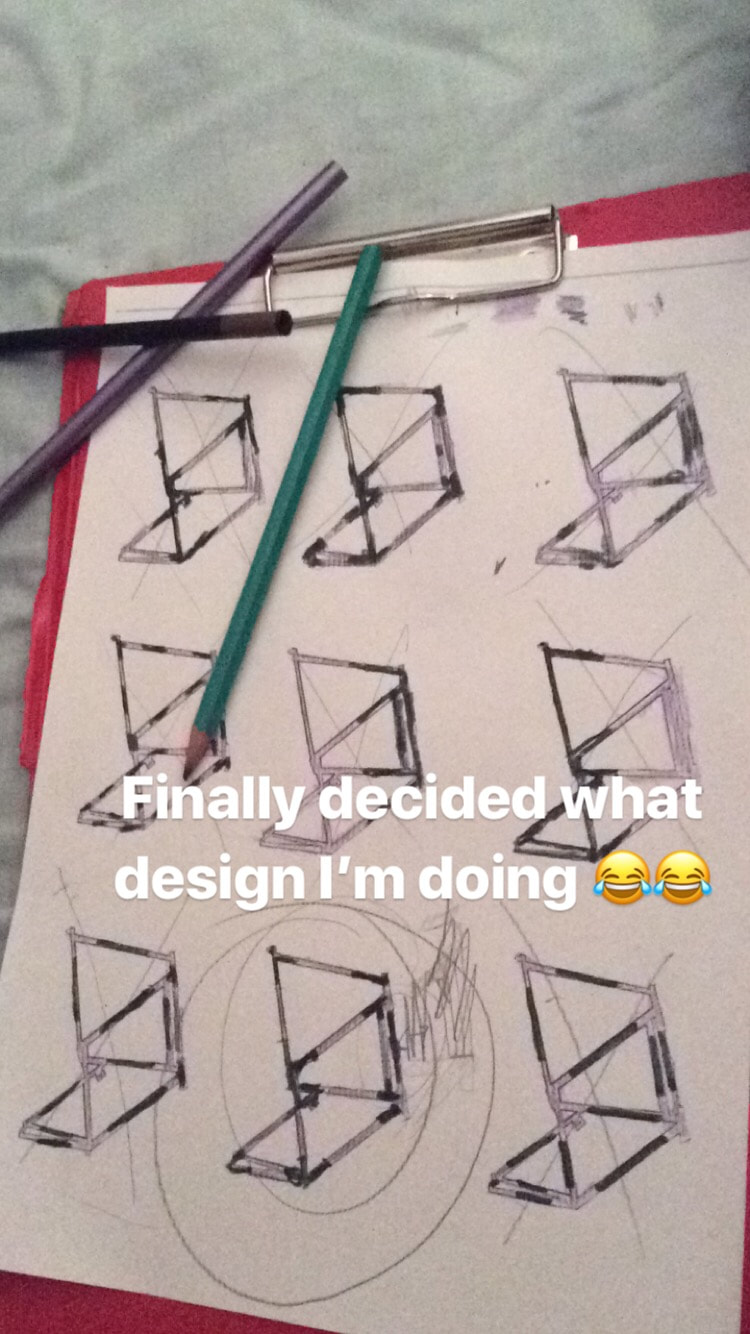
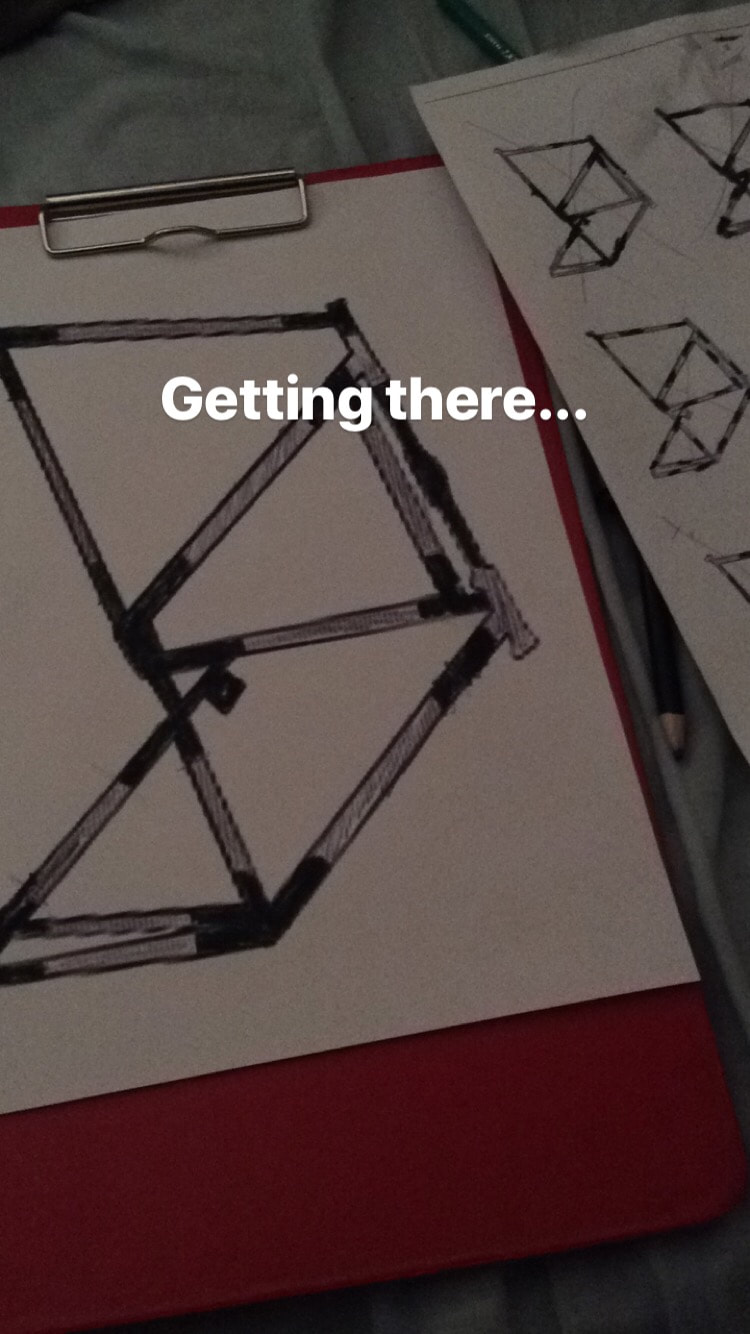
Two days later, I saw an interesting picture of somebody's bright yellow tall bike on Instagram... with a gear system I had never seen before. It was just one massive triangle.
Straight to the workshop :)
I emerged a few hours later with a fully functional drivetrain after 6+ months of pedalling hell. On my first test ride, I managed to get upwards of 20mph on the main road, before trying to perform a sharp turn and crashing head first into a large bush. Lesson learnt, you can only carry out mild turns on a tall bike when going insanely fast.
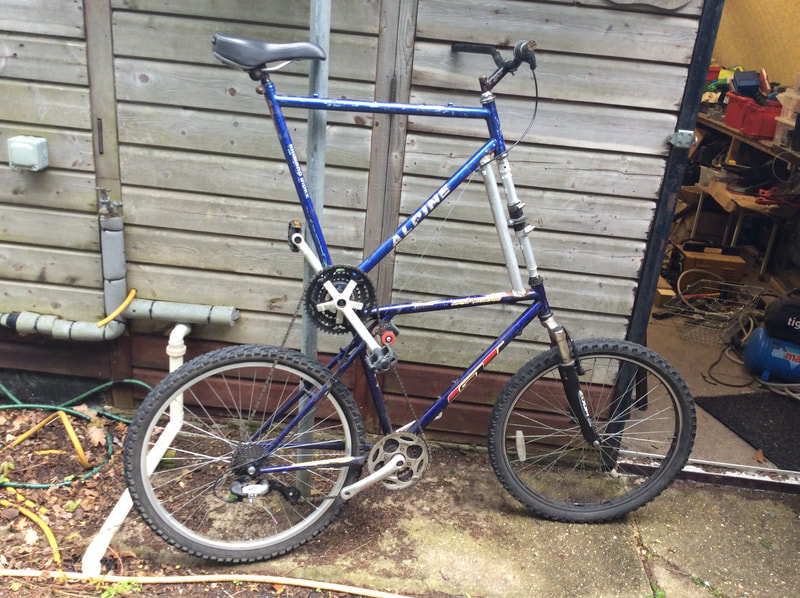
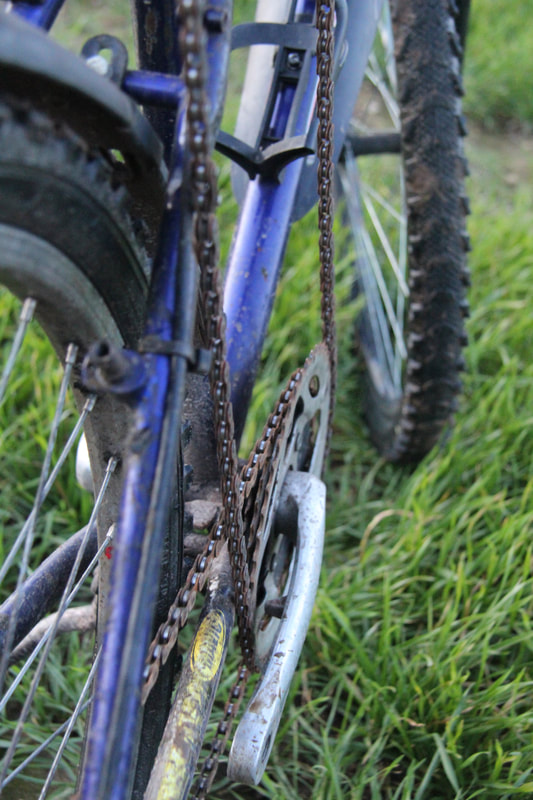
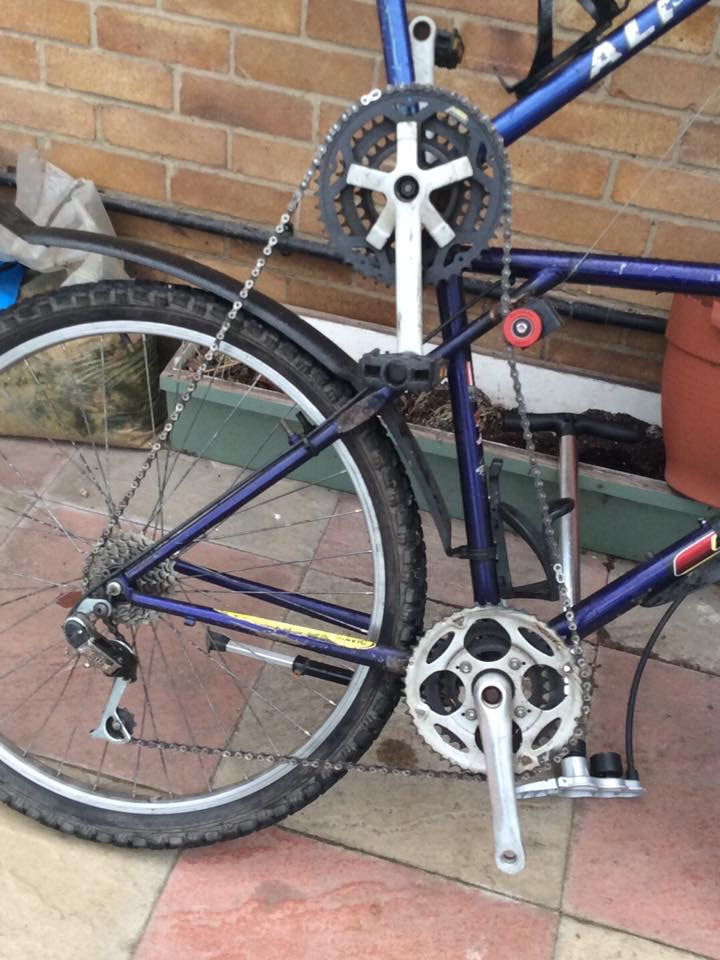
The concept of this setup was fairly simple; The chain simply went around both chainrings and the cassette + derailleur, in one massive triangle. From what I remember, the triangle was made from three 5-8 speed chains. The new red tensioner was still there to ensure the chain stayed in place without a front derailleur, while there was enough distance on the chain between the top chainring and the wheel, to allow me to shift a full 7 gears without the chain coming off.
See images below.
So I tried putting the upper drivetrain on the left-hand side of the bike, so that the right-hand side would function normally.
However the bottom cranks weren't having it; I needed to extract the left-hand bottom crank, to replace it with a sprocket, but its' aluminium thread system was old and damaged - It ruined my crank extractor, and stripped all its' threads off, making it impossible to remove the crank. I had to return everything back to normal for a few days.
Two days later, I saw an interesting picture of somebody's bright yellow tall bike on Instagram... with a gear system I had never seen before. It was just one massive triangle.
Straight to the workshop :)
I emerged a few hours later with a fully functional drivetrain after 6+ months of pedalling hell. On my first test ride, I managed to get upwards of 20mph on the main road, before trying to perform a sharp turn and crashing head first into a large bush. Lesson learnt, you can only carry out mild turns on a tall bike when going insanely fast.
The concept of this setup was fairly simple; The chain simply went around both chainrings and the cassette + derailleur, in one massive triangle. From what I remember, the triangle was made from three 5-8 speed chains. The new red tensioner was still there to ensure the chain stayed in place without a front derailleur, while there was enough distance on the chain between the top chainring and the wheel, to allow me to shift a full 7 gears without the chain coming off.
See images below.
|

|
Tall Bike Achievements
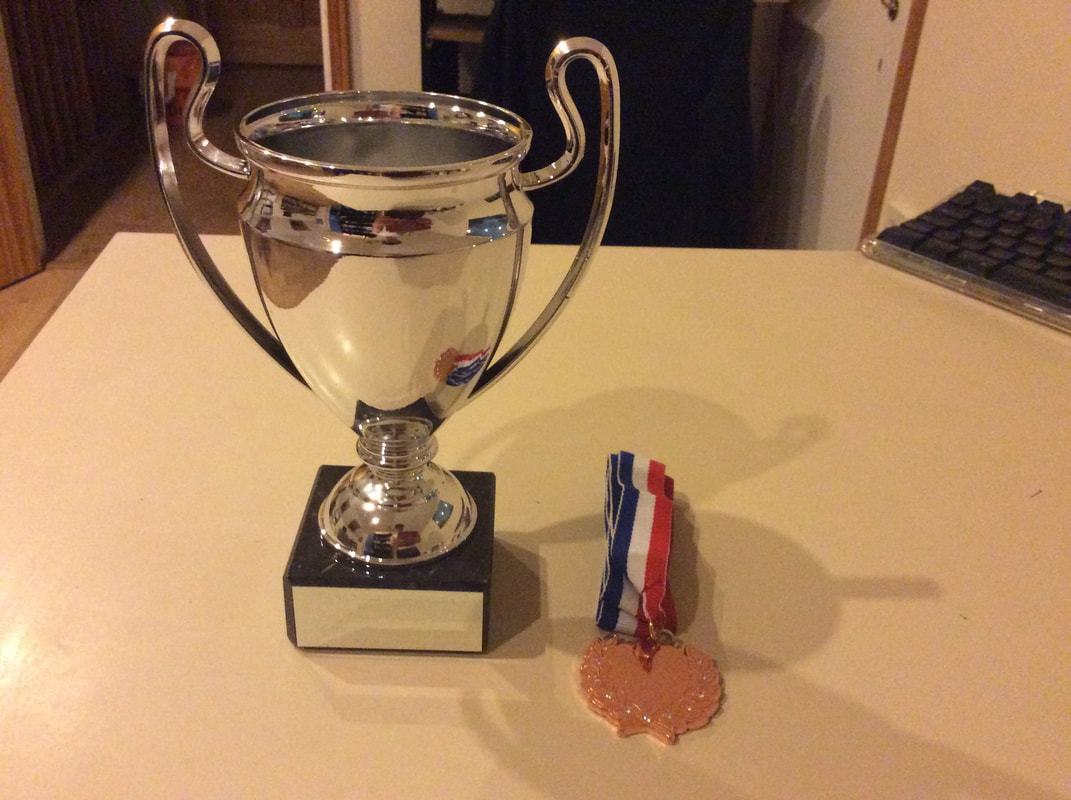
The Tall Bike recently managed to win a fancy dress competition for the Peace Centenary on July 20th, 2019. I was a joint winner and even received a little trophy! :)


Get In Touch.
|
If you want to get in contact for queries, info or just to talk, please email me (button below), or press the social media icons to be taken to my profiles. Please make sure you make it known you are contacting me about the website, otherwise unknown messages are marked as spam.
Always happy to help and answer questions, feel free to get in touch. |
