Building
1st Build
Of course I couldn't stop at one. I had to build another!
But this time I wanted it to be created entirely by me... with no welding help. By now I had bought a cheap Arc/Stick welder for £50. Barely operable and very messy, but it worked.
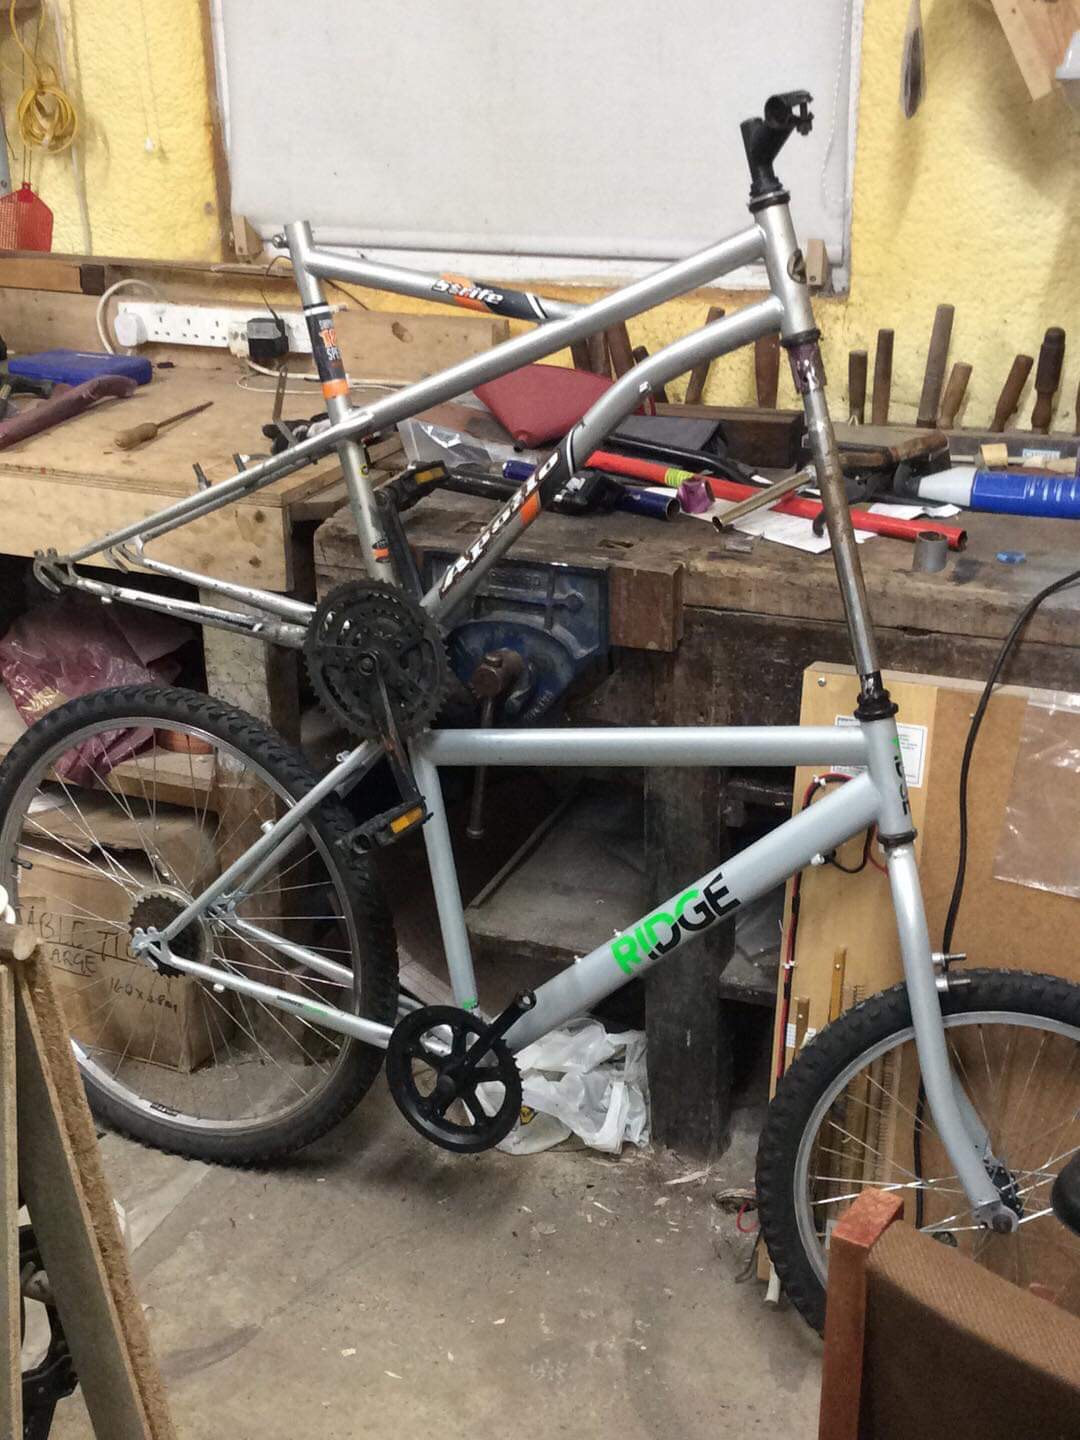
So I grabbed my friend's old Ridge bike and an old Apollo Strife (making sure not to make the same mistake with the dropout interception issue this time), and put them on top of each other. I cut off the fork arms from the top frame, and removed part of the stem headset from the bottom frame, so that a tube could be placed between them to let me steer.
Then I put another tube between the frames for additional support.
But this time I wanted it to be created entirely by me... with no welding help. By now I had bought a cheap Arc/Stick welder for £50. Barely operable and very messy, but it worked.
So I grabbed my friend's old Ridge bike and an old Apollo Strife (making sure not to make the same mistake with the dropout interception issue this time), and put them on top of each other. I cut off the fork arms from the top frame, and removed part of the stem headset from the bottom frame, so that a tube could be placed between them to let me steer.
Then I put another tube between the frames for additional support.
I spent a few days learning to use the Arc welder; it was very splodgy and inconsistent.
Then I cut off the rear dropout from the top frame, and welded the steer and support tubes on. I even went as far as to get my brakes and gear systems all setup..
And then disaster struck. I gave it a test ride, full of over-confidence, and the welds all over literally crumbled. Not to mention the fact that yet again, the steer tube was slightly bent, pulling the frames apart.
Back to the drawing board.
The image below is just before the disastrous welds crumbling and everything falling apart.
2nd Rebuild
From November until January, I spent another two months taking it apart, sanding off the old welds and preparing a new support tube. Also, I decided to try a sleeved tube method. It's hard to explain, but easy to understand if you see it. Sadly I didn't take any other pictures while building, so I'll have to explain.
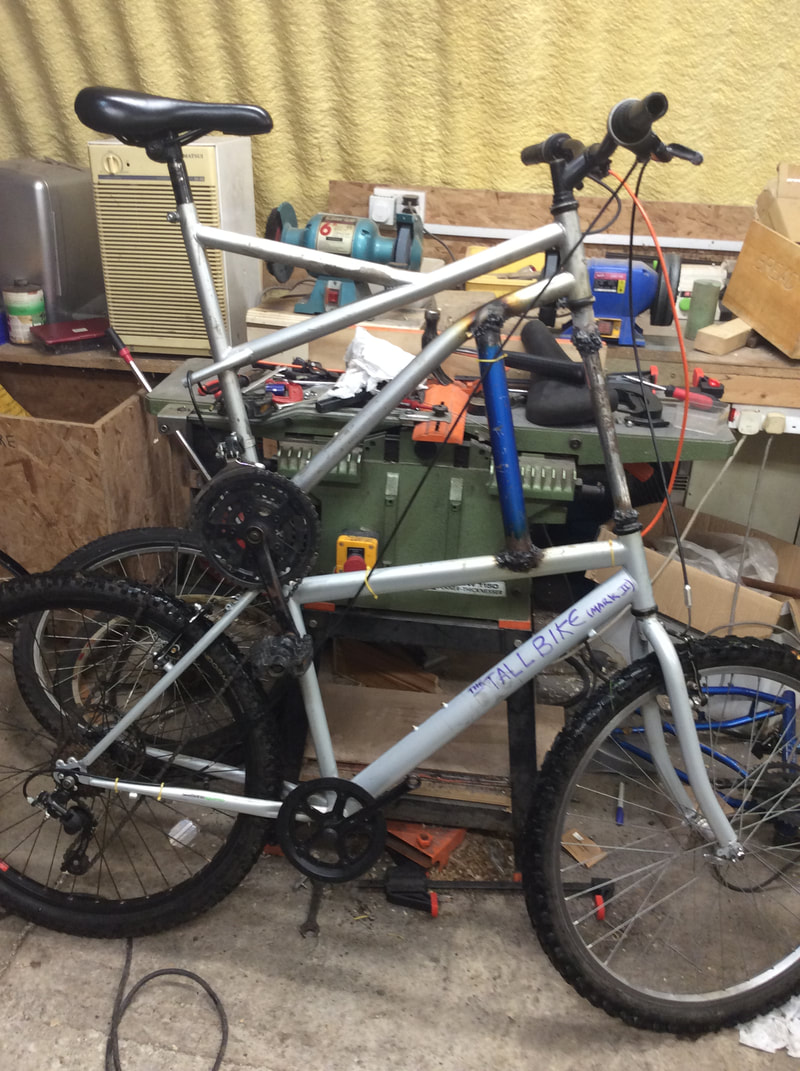
Basically, the fork-tube has been extended with a tube, about a metre long. It was fastened in by drilling little holes into the overlapping tubes, and putting screws in to hold it in place, as the internal metal was too thin to weld. This tube comes up to the stem headset on the top frame, and screws in and fastens like a normal fork, except elongated.
The purple tube in the image below is a sleeve, which just encases the fork-tube and adds extra support to the frame. Imagine one long head-tube being the frames' head-tubes and the purple tube as one.
As far as I could tell, this was going to work. Even if the metal was slightly bent, it would move internally, without causing the frame issues.
I took Mark II for a few test rides and all seemed to be going well. However, the inevitable always happens. The inner fork-tube's fastenings got loose, and the holes in the thin fork-tube started to widen and rip. Eventually, I was riding and my steering suddenly went haywire, sending me flying off the Tall Bike yet again.
The fork-tube had come loose, and eventually my new arc welds started crumbling for the second time.
Back to the drawing board.. twice!
Picture below is before test ride, after second rebuild.
3rd Rebuild
Right, third try.
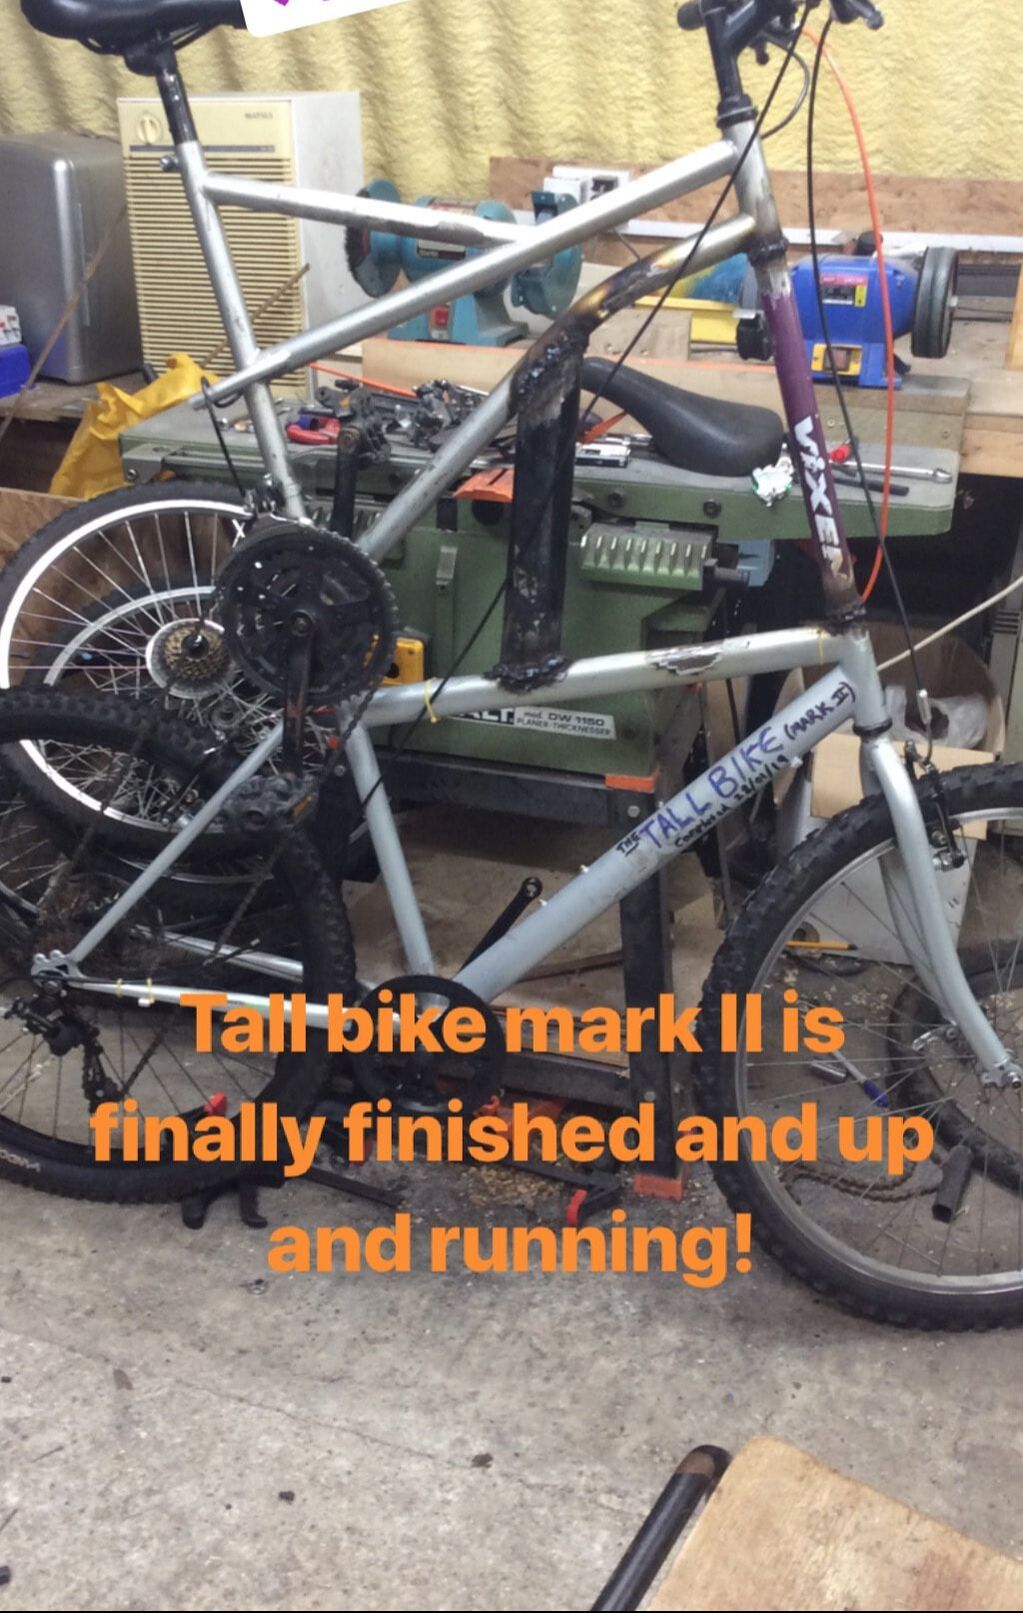
I rebuilt the entire bike, re-welded thicker welds and used a thicker steer-tube.
I even sprayed it silver! It looked great and I was sure it would hold out this time.
These photos were taken during the rare few days of light sleet we received in early 2019. Press thumbnails to navigate slideshow.
This third rebuild was working for around a week, before the exact same issue occurred. Fork-tube got looser and looser, and eventually twisted and snapped.
4th Rebuild
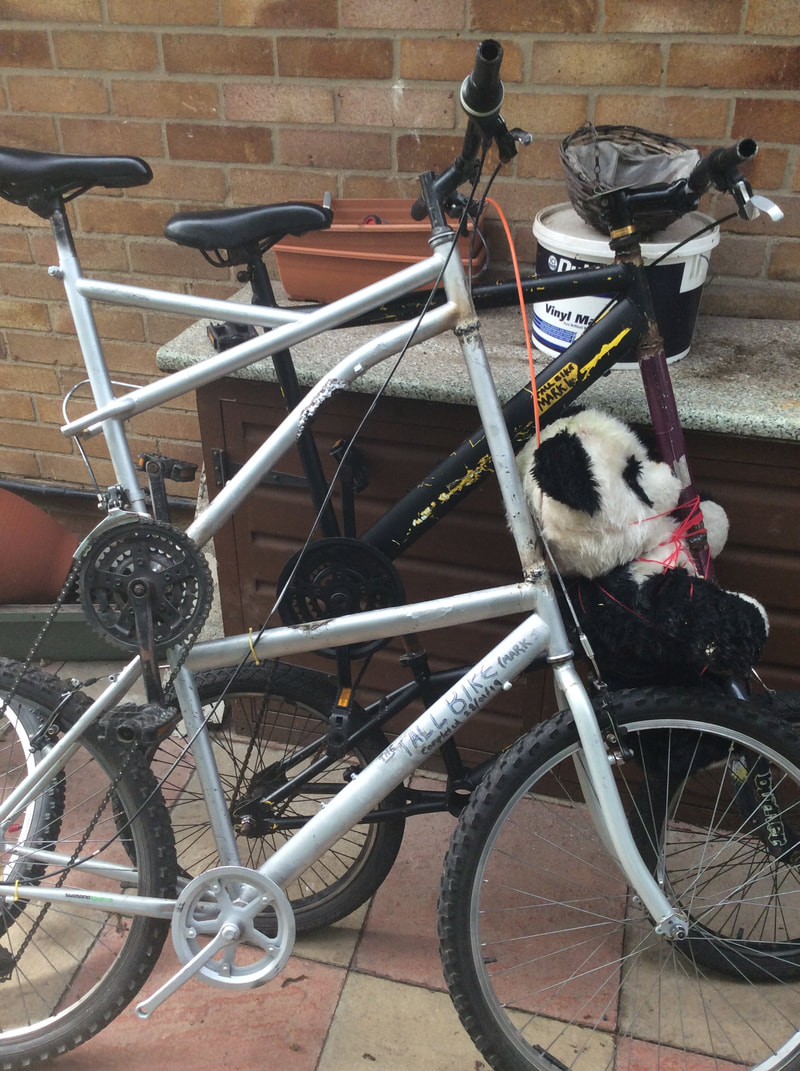
By now I was used to rebuilding it, so it was 6 hours to re-make a new fork-tube. By now I had my newly-bought £100 MIG Welder, which did some very good welds on the tube, despite it still breaking.
This image below was taken in early June 2019.
The slightly shorter tall bike behind it is Mark IIII.
This image below was taken in early June 2019.
The slightly shorter tall bike behind it is Mark IIII.
The fourth re-model survived a record-breaking 3 weeks, until the end of June, when the steering finally gave up yet again, and sent me into a small patch of nettles whilst I was attempting to ride over a bridge. It's currently sitting in my workshop, as I cannot be bothered to do a 5th rebuild. I am now seriously considering taking it apart and scrapping it for parts.
After all, I have 3 more. :)
The only other Tall Bike I have which uses a sleeved fork-tube, is Tall Bike Mark IIII, which has a sleeved fork-tube which is also a treadless headset. It's been working for around 2 months so far with no issues, so I guess that Mark II is just a bad penny, as all 3 other models work fine.
This is the only Tall Bike build which has a direct drivetrain with a rear derailleur(except Mambo), as it had 6 working gears, so it will be a shame to see it dismantled and scrapped.
Get In Touch.
|
If you want to get in contact for queries, info or just to talk, please email me (button below), or press the social media icons to be taken to my profiles. Please make sure you make it known you are contacting me about the website, otherwise unknown messages are marked as spam.
Always happy to help and answer questions, feel free to get in touch. |
